Pages

Showing posts with label chocolate. Show all posts

Thursday, 20 December 2012

Chocolate truffles


Don't they look deliciously precious?

This Christmas, as I had a few people who I owed a present and like but don't know intimately well, I decided to make my own chocolate truffles.  They're just personal enough, being home-made, not to offend if people get the same thing as each other in public; and just impersonal enough to work for almost anybody. 

Having said that, I chose the flavours carefully so that there would be a variety in every little package, and people wouldn't feel unable to eat any of their packet.

The wrappings were made from some cellophane I stole from work, and tied with the ribbons on some ordinary gift tags.  The truffles were shaped by pouring the liquid ganaches into silicone ice-cube trays.  These are becoming more common, and do make the job infinitely easier, but if you don't have one, no worries.  Allow the ganache to set in the fridge until firm, then scoop out teaspoonfuls and roll them into balls in your hands.  This is messy but fun.

Truffles in the mould


ProTip: Keep two saucepans out, one for heating cream, the other with hot water.  If your hot cream isn't enough to melt the chocolate by iteslf, place the mixing bowl over the pan of hot water and stir the ganache rapidly until it begins to loosen and melt at the bottom.  Take the pan off the heat and continue stirring vigorously until the ganache is smooth.  DO NOT overheat, or the choc will split and become a bitter, oily mess.

Chocolate Truffles (makes 10-20)
You Will Need for every flavour: Moulding trays (ideally), chopping board and knife, several small bowls, many teaspoons, small saucepans, measuring jug (minimum mark 50ml), spatula or wooden spoon.  To wrap: nice paper, ribbon or tags, scissors.

Cherry Brandy Truffles
100g dark chocolate
50ml double cream
25ml cherry brandy
glacé cherries, dark, halved
cocoa powder

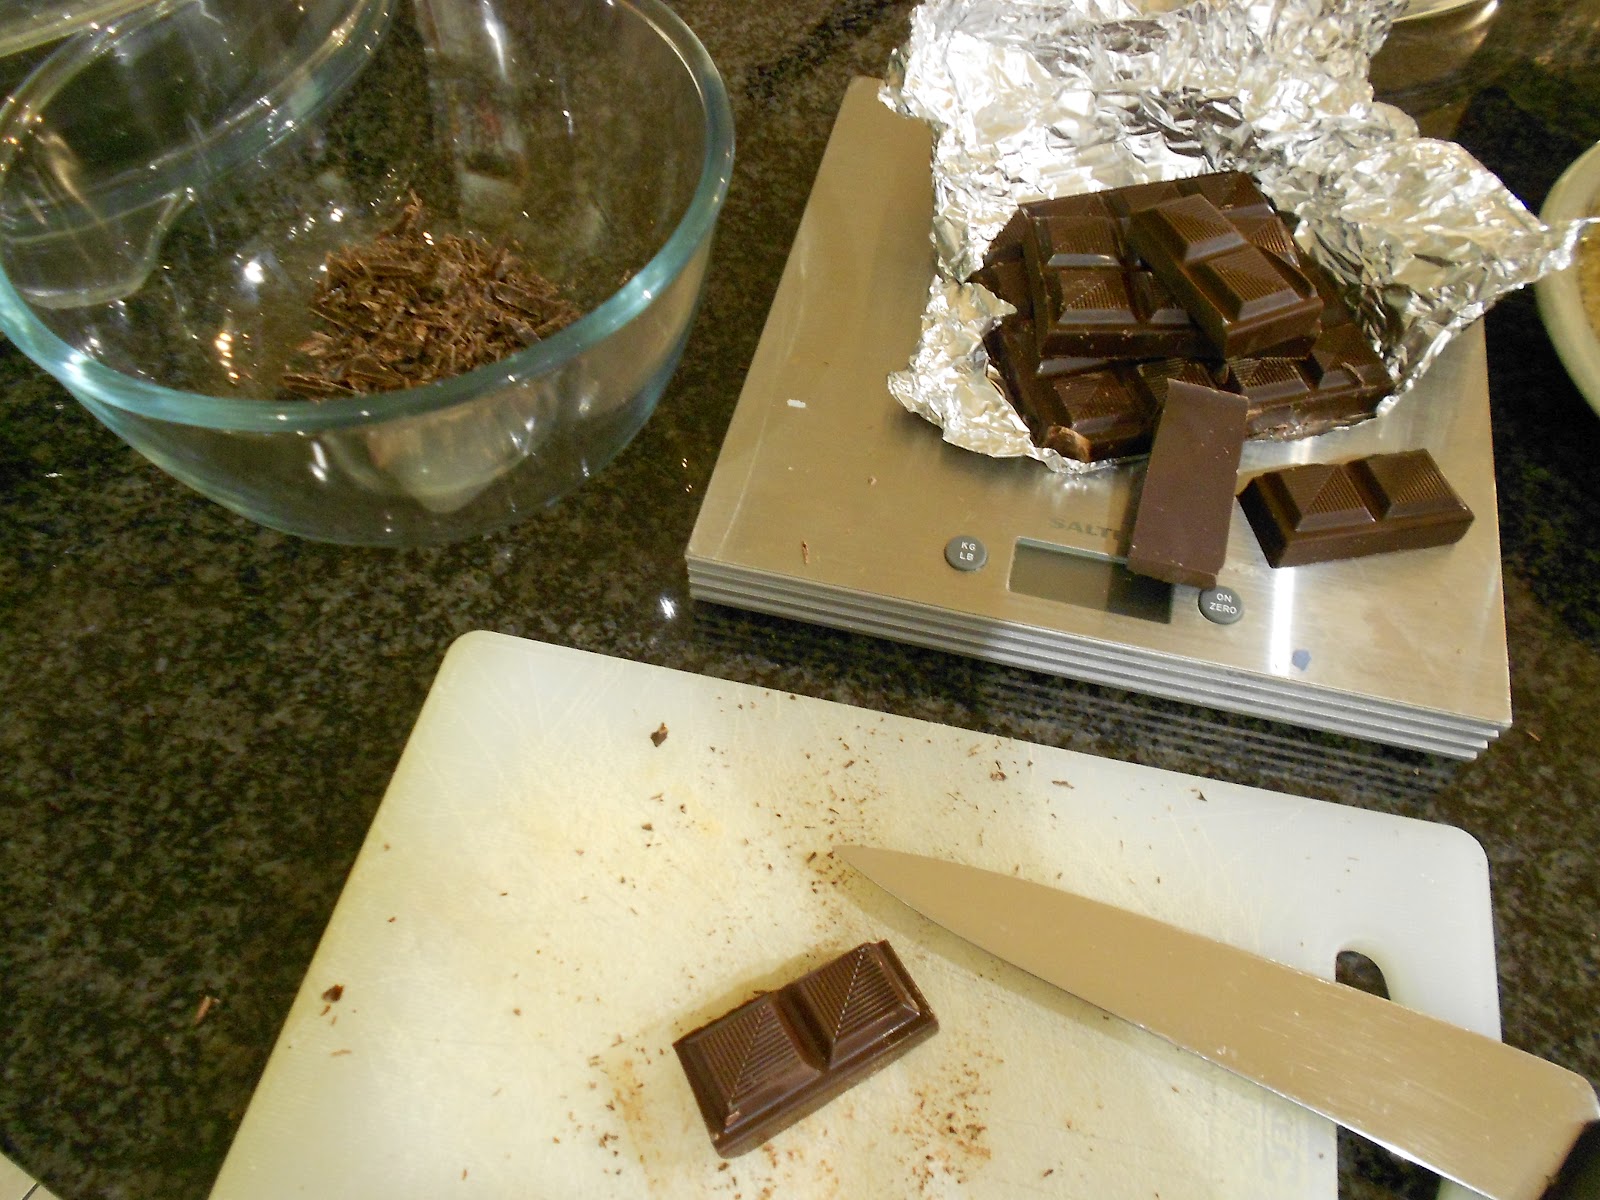
1) Chop the chocolate as finely as you can - this will make mixing it easier.  Place in a small bowl.
2) Heat the cream until not quite boiling; add the liqueur.  Pour the hot liquid over the chocolate.
3) Stir the cream and chocolate together until completely melted and blended.
4) Chop the cherries until you have as many halves as you want truffles.
5) Half-fill your moulds*, add a cherry-half flat-side up, and top off with more chocolate.
6) Chill for at least half an hour in the freezer, 2 hours in the fridge.  Scatter a little cocoa in another bowl.  Turn the chocs out of the moulds into the bowl of cocoa, and shuffle about until lightly coated.

*this recipe is difficult without moulds, but you could give it a go - forming balls in your hands around half-cherries.  They will end up bigger and rougher.
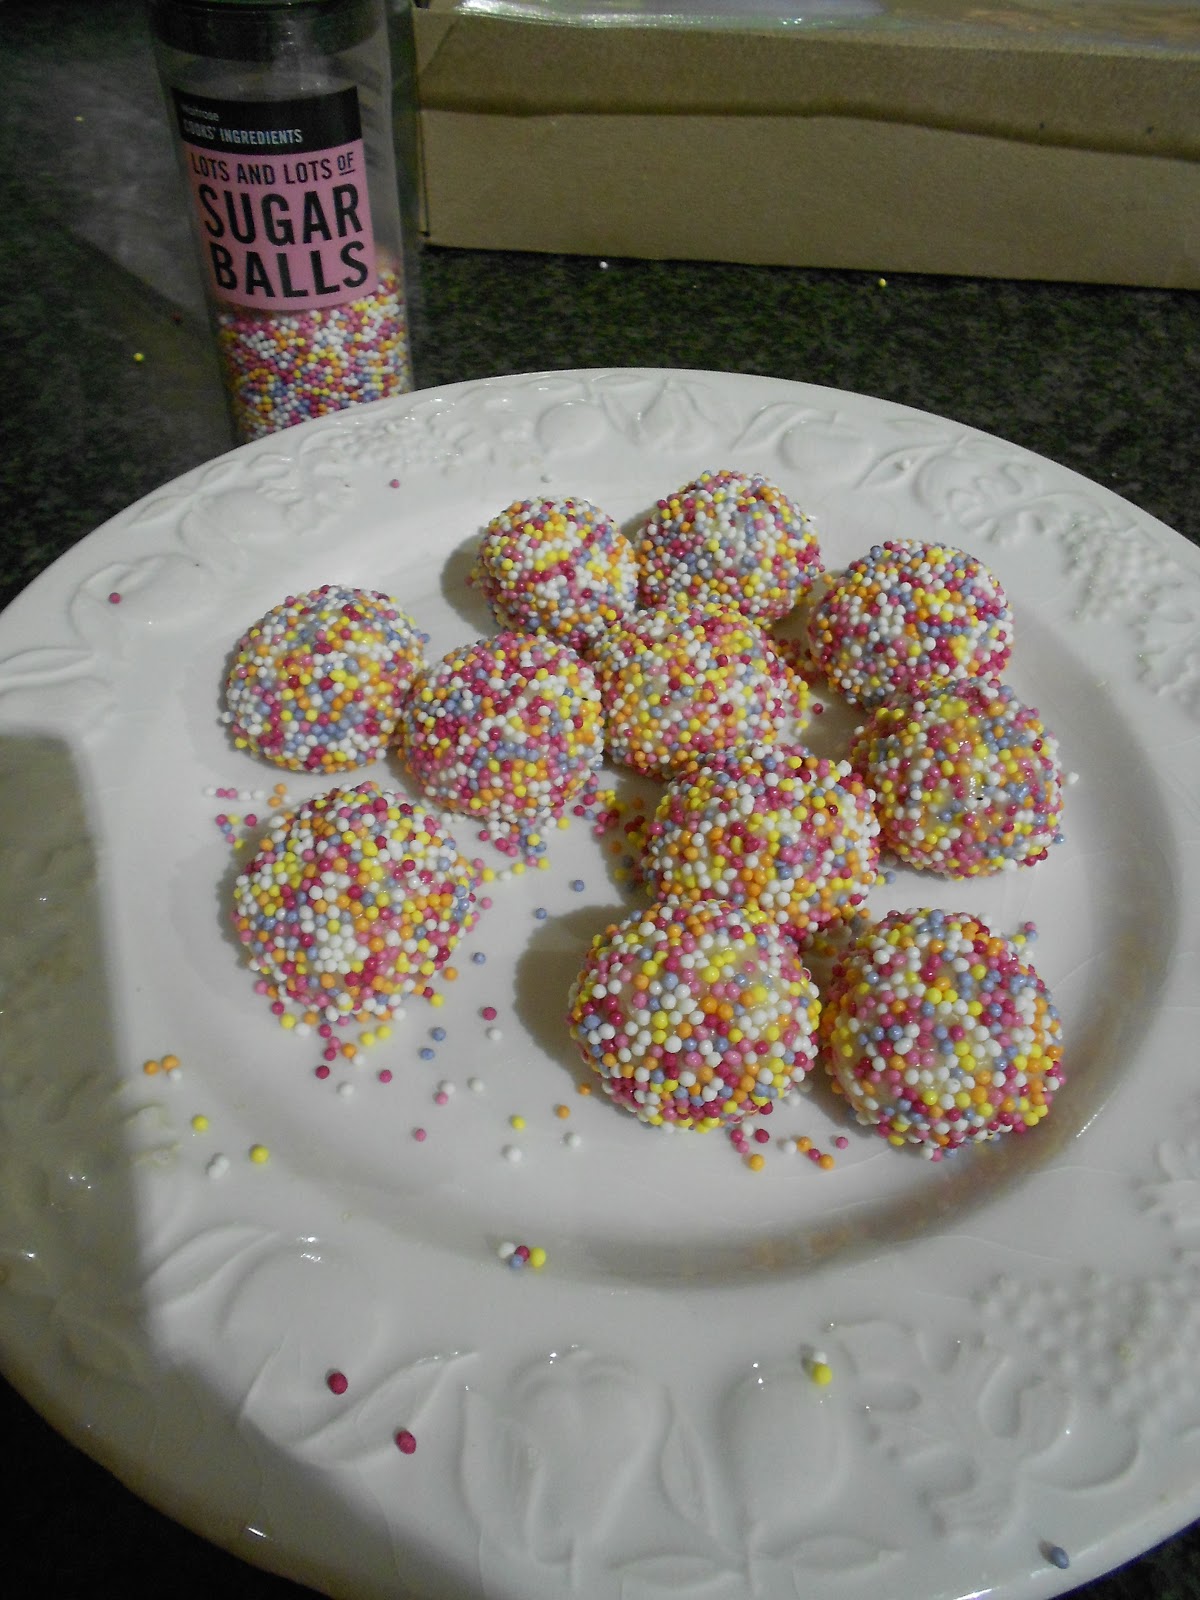
Twinkly White Vanilla Truffles
100g white chocolate
30ml double cream
1tsp vanilla essence
decorative sugar balls/sprinkles

1) Repeat steps 1-3 from the first recipe, substituting the tsp of vanilla for liqueur.
2) Freeze the ganache for half an hour, until just firm.  Scoop into balls with teaspoons and mould in your hands.  You washed your hands, right?
3) Scatter sugar balls into a bowl.  Turn out truffles into the bowl and roll in the decoration. 

N.B. White chocolate gets its distinctive colour from containing almost no cocoa solids.  This means that it melts more easily and needs less cream to make a satisfying ganache.

Trebor Extra Strong Snowballs
You Will Need: Pestle and mortar
100g dark chocolate
50ml double cream
3-4 Trebor Extra Strong Mints

1) Make the ganache as for Cherry Truffles, witholding the liqueur.
2) Pour into moulds and freeze for half an hour to set.
3) Crush 3-4 mints to fine dust in a pestle and mortar; roll the truffles in the dust until coated.

Coffee Truffles
You Will Need: sieve
100g dark chocolate
70ml double cream
1 tablespoon fine ground coffee


1) Chop 100g of the chocolate finely.  Put in a small bowl to mix.
2) Heat the cream with the coffee granules gently, stirring, for a while to allow the coffee to infuse.
3) When the cream is hot and coloured, pour it onto the chocolate through the sieve.  You don't want grit in your chocs.  Stir until the choc and cream are well blended.  Not all of the cream will come through the sieve.
4) Pour the ganache into moulds and chill until firm, or chill and roll into balls.

To Present
A square of cellophane or paper 8ins on each side will just envelop eight truffles comfortably.  

Wednesday, 12 December 2012

A Simple Christmas


It's really getting festive round here.  At the house where I live, (where Christmas is very savoury-food-centric), the fridge is beginning to fill with ham, sausagemeat, red cabbage and turkey liver for paté.  I'm sure that at my father's flat the big red wooden reindeer full of drawers is doing his Advent duty.  Only yesterday I spent a very happy morning decorating the window of the shop where I work.  The air is nippy; the frost is on the ground; Oxford Street is heaving.

It's really high time we all started getting sorted, so to help out, I'm posting a list of all the festive advice and recipes I've given on this blog in one place.  You'll notice that there are some conspicuous absences from this list - nativity scenes, Christmas pudding, turkey or goose recipes, mince pies, and so on.  At some point I will post my recipe mincemeat mince pies made with real minced meat - not mincemeat, minced meat - or meatmince, if you will.  But I have to get them perfectly squidgy and flavoursome first.  As for the rest - I can only blog so much a year!

Decorations:
Needle felted
Leather

Christmas (fruit) cakes:
Figgy Upside-Down
Marzipan Painted Fruitcake
Orange Upside-Down Layer Cake

European Christmas Biscuits:
Pepparkakor recipe
Gingerbread house template
Gingerbread stave church
Basler Brunsli 

Traditions:
Die Hard and Biscuits
Advent

Flower arranging:
Christmas Greenery


Sunday, 28 October 2012

League Of Legends Nexus Cake


'What flavour of birthday cake do you want, darling?' I ask The Man.
'Big.'
'Big what?'
'Muh, dunno.  Chocolate.'

'Chocolate' wasn't good enough for me, so I made a 28cm-diameter chocolate-and cherry cake,


and a 28cm white chocolate-and-ginger cake, cut them into regular hexagons,


iced them with ginger syrup buttercream and chocolate ganache,


and covered them in ready-roll fondant,


and scored the fondant into 'stone walls,' and added more vanilla cake covered in more chocolate and fondant,


hexagons of blue fondant, and made marzipan 'statues' of wizards with blue birthday candles for staffs and cocktail sticks holding their heads on, with fondant cloaks, and six piped triangles and one piped hexagon of macaroon/meringue


assembled into a regular 6-sided pyramid filled with small round macaroon and whipped cream, covered in more blue fondant. 

And added green coconut buttercream 'moss' and candided angelica 'weeds'.

Until it looked something like this:


This was not a Simple Thing to do.  Do not try this at home, kids.

Or do, but be aware that the Faff Index occasionally goes up to 11.

The final thing needed a total of 16 eggs, a kilogram of butter and half a kilo of chocolate.  I think that counts as 'Big.'

Monday, 17 September 2012

Decadent Pear and Chocolate Birthday Cake


A little while ago I mentioned this cake, and this one which I made in response.  My good friend made a beautiful-looking pear and dark chocolate version, although much like me she struggled with unripe fruit and getting the curd to set.  I was sorry I didn't get to taste it, as it has really inspired my second try.
I really wanted to get this right.  It is high time I had a proper show-stopping torte on my resumé which I can whip out for other people's birthdays as well as my own.  This time I made sure to buy my pears a week in advance, so that they would be juicy and flavoursome by the time it came to making the cake.  Thankfully, it is by far the best cake I have ever made!

This is an expensive confection as it involves buying hazelnuts (peeled nuts are a luxury in this country for shame) and a bottle of decent sweet wine.  Thankfully fruit and chocolate are both cheap!  It is also a multi-stage bastard.  As I have said, usually I avoid multi-stage anything like the plague, being of the 'screw it we'll have stew' school of culinary excellence, but for one's birthday as a known baker one has to go the extra mile.

One benefit of these sorts of cakes is that almost any of the stages stands alone.  The praline is a great peanut brittle substitute, the cake is obviously pleasant, the poached pears are a great pudding in and of themselves and the ganache could be used to make truffles.  If you've been paying attention, you'll realise that I made all of these things one at a time over the past few days, to avoid a nine-hour baking binge on the night of the party.

For shopping lists: Total chocolate used overall 500g, total cream used overall 300ml, total hazelnuts 400g

Spiced Pear and Chocolate Cake with Indulgent Pears and Hazelnut Praline

You Will Need:
Hazelnut Praline, one batch - three decorative pieces, the rest powdered
Chocolate Ganache, one batch
Pears Poached in Sweet Wine, - 4 pears' worth including three pear fans to decorate
100g hazelnuts, to decorate

Spiced Pear And Chocolate Cakes
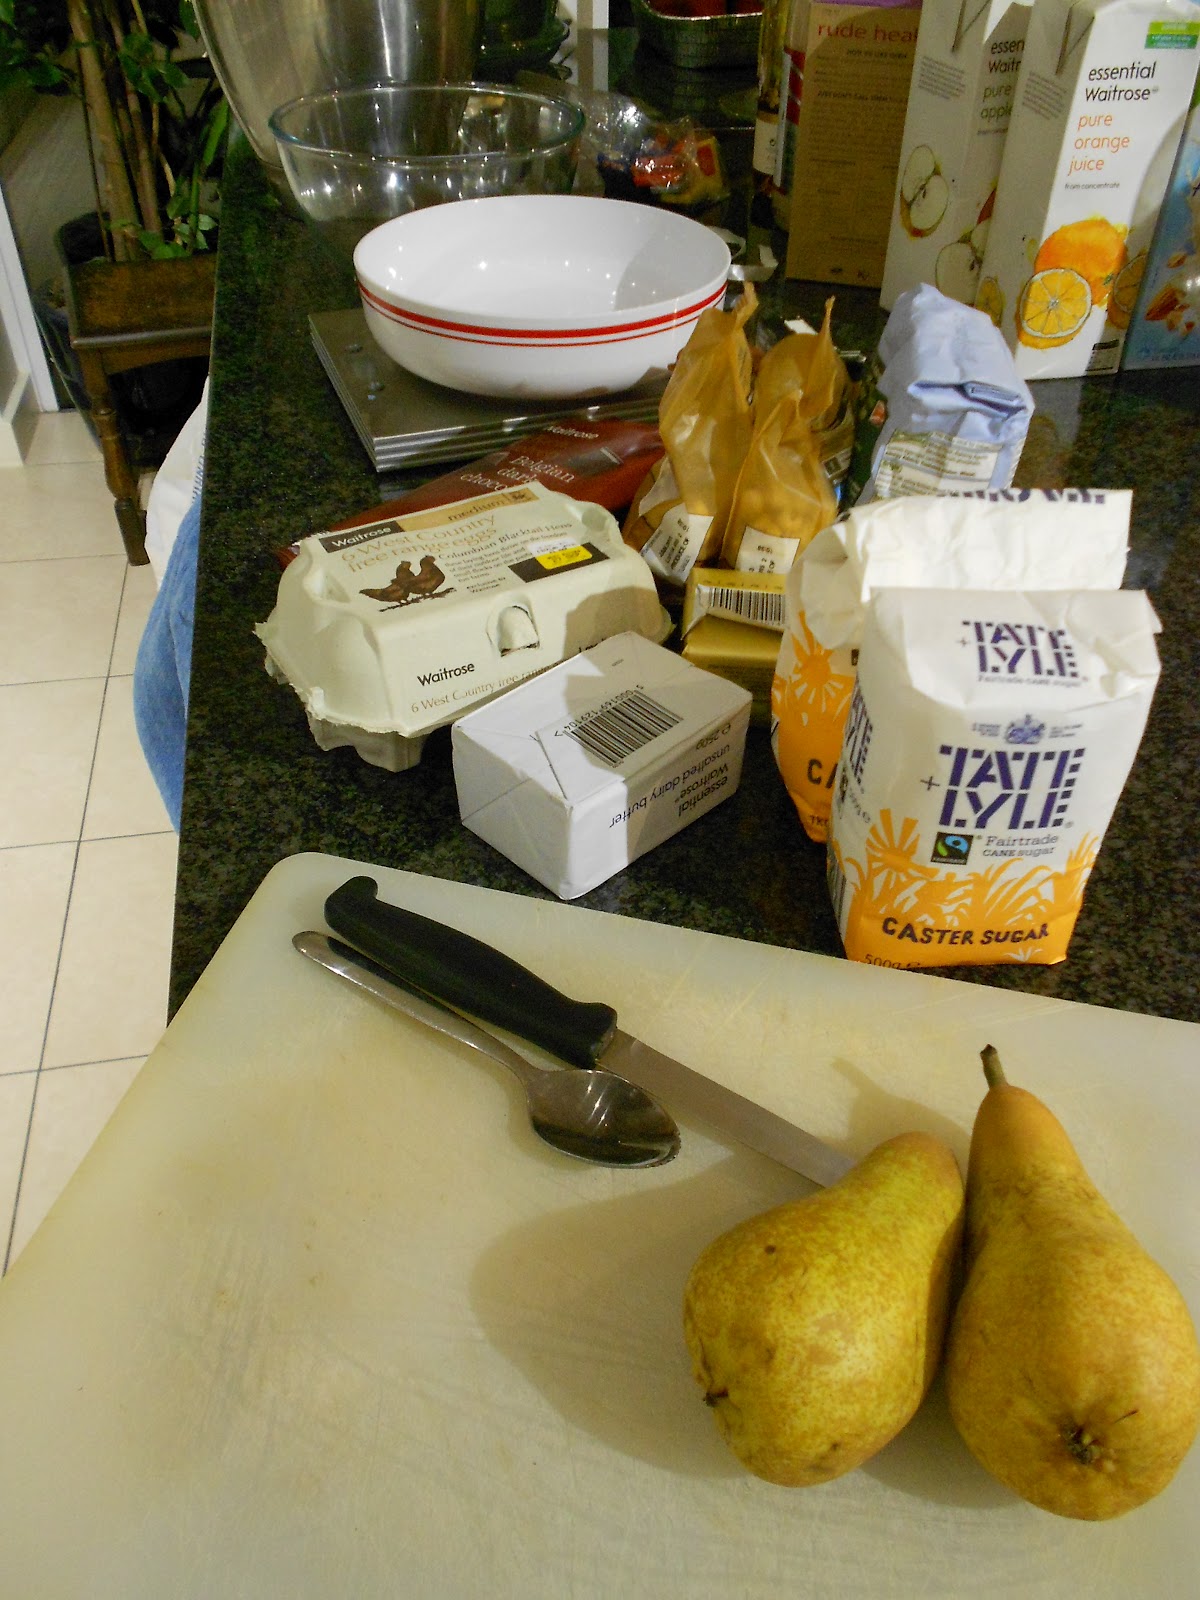
You Will Need: scales, 2 tins, greaseproof paper, wooden spoon, large bowl, chopping board and knife, (small grater),potato peeler, teaspoon, whisk, 2 medium bowls, cup, small saucepan, cooling rack

100g chocolate
200g butter
200g sugar
5 eggs
2 small pears
1/2tsp nutmeg, or 1/2 a nutmeg grated
1/2tsp cinnamon
100g hazelnuts
200g self-raising flour

1) Preheat the oven to 180degC.  Line and grease your tins.
2) Peel, core and chop the pears into small pieces.
3) Separate your eggs, with the whites going into one medium bowl and the yolks a cup.  Cut the butter into small pieces, and break up the chocolate.  Set the second medium bowl over a pan of boiling water, and melt the chocolate, sugar and butter together.  When the mixture is all mixed with no lumps, transfer to the large bowl and whisk in the egg yolks gradually.
4) Grind the hazelnuts, and mix with the flour and spices on the scales.  Wash the whisk; whisk the egg whites to soft-peak stage; fold spoonfuls into the mixture alternately with flour, whisking the whites back up to peaks again between spoonfuls.
5) Pour equally into the tins and bake 30-35 minutes, until risen and clean-skewer.
6) Allow the cakes to cool in the tins for 10 minutes.  Remove from the tins and allow to cool on a rack.

Assembly
You Will Need: Serving dish, breadboard, breadknife, spoon, medium bowl, small bowl, small saucepan, teaspoons, dinner knife

200ml thick cream
200g dark chocolate

1) Allow your ganache to come back to room temperature so that you can work with it.
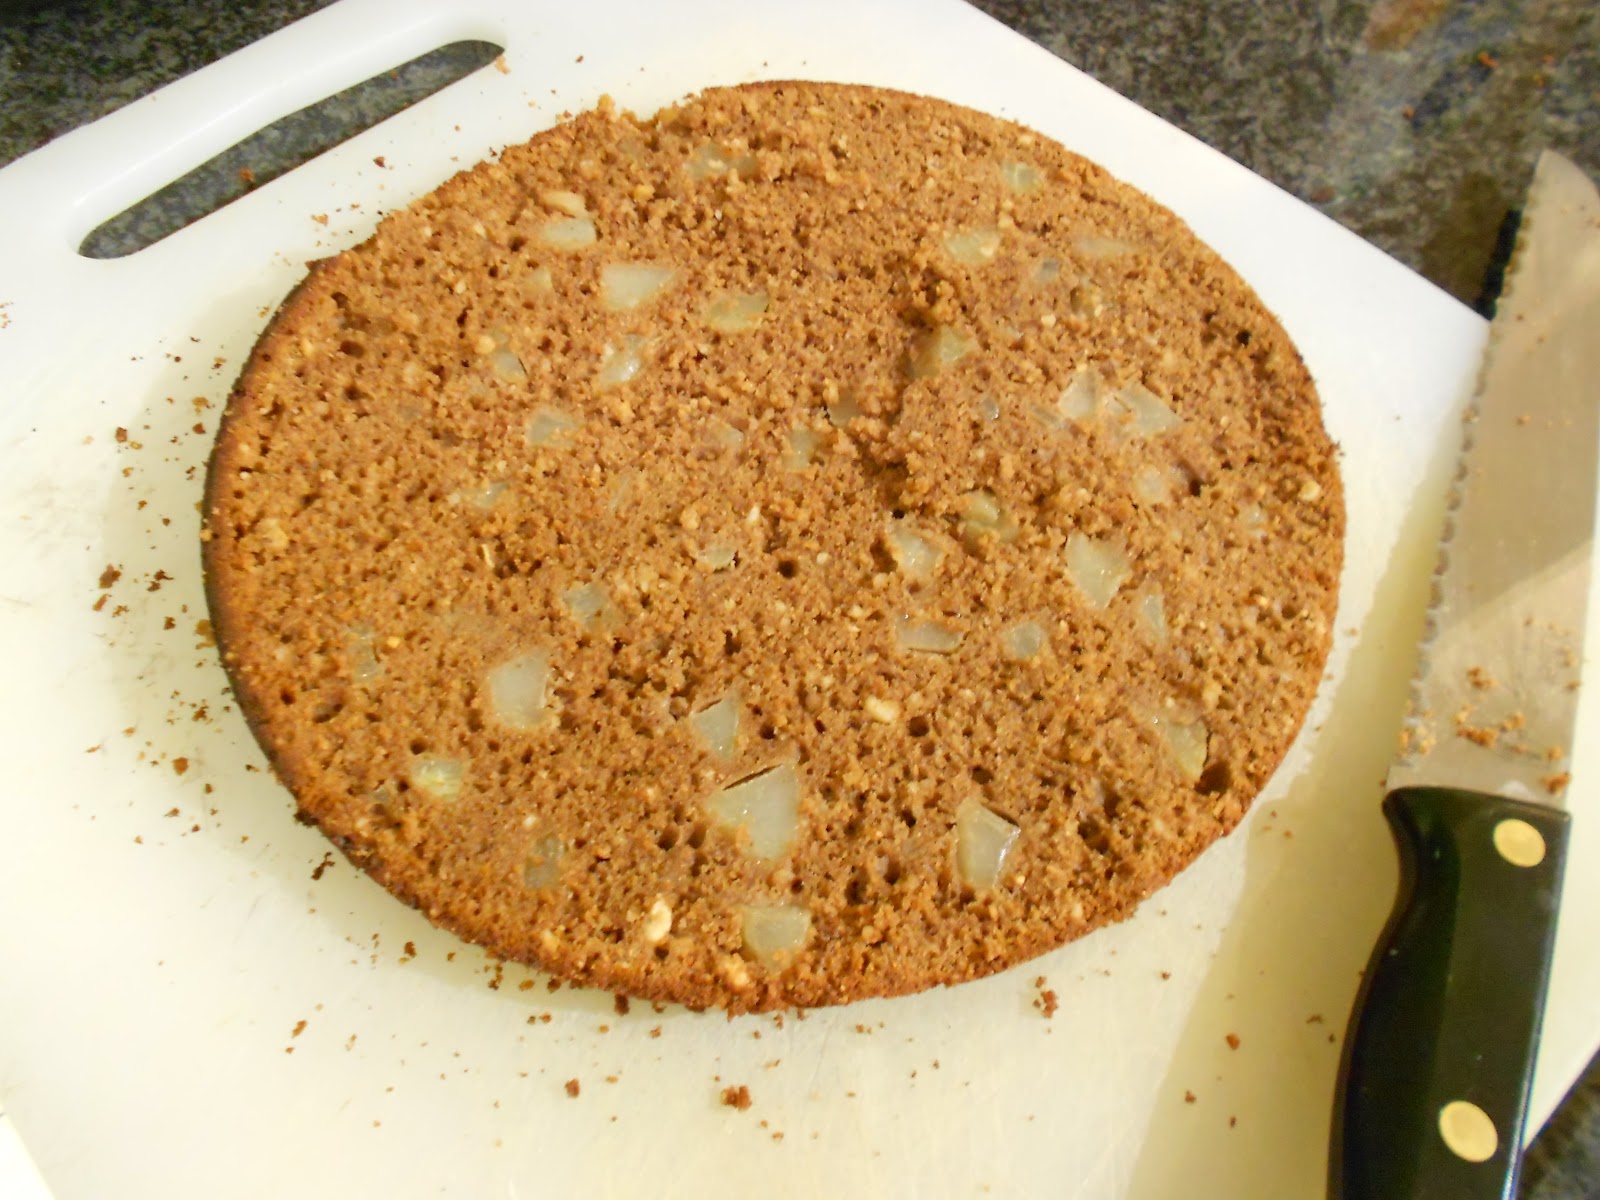
2) Cut your cakes.  Very gently turn out the first cake onto the serving dish.  Now cut it in two carefully, and shuffle the top half onto the breadboard. 
3) Spread a thick ring of ganache all the way around the edge of the cake on the serving dish, using your teaspoons and dinnerknife to manipulate it.
4) Mix the hazelnut praline powder powder gently with the thick cream only until mixed.  Spoon a round of this mixture inside the ganache ring.  Top with the next round of cake.
5) Turn out the second cake onto the breadboard and cut it in two.
5) For the central filling layer, arrange the poached pear slices in an overlapping layer.  Top with a third round of cake.
6) Use the remaining ganache and hazelnut cream to fill the third round, as before.  Top with the final cake.
7) Melt the last chocolate in the small bowl over the small pan.  Pour this melted chocolate all over the cake, first spreading a layer to catch all the crumbs, then allowing it to dribble over the sides organically.  Allow to cool slightly.  Fan out the poached pear halves in a trio; wedge the chunks of praline in between the pears.  Place hazelnuts evenly around the edge to mark portion sizes.

Fin! Serve to no fewer than a dozen people at once!


Chocolate Ganache


Chocolate Ganache
You Will Need: Small saucepan, wooden spoon, medium bowl, scales, measuing jug, chopping board and sharp knife, clingfilm

100ml extra thick cream
200g dark chocolate

1) Break the chocolate into small pieces and chop as small as you can.  Pour these chips into the bowl.
2) Heat the cream until hot but not boiling.  Pour swiftly over the chocolate, and stir rapidly until all of the chocolate is melted.  If the cream becomes too cool, heat the ganache very gently again over a pan of hot water.
3) When mixed, cover the ganache with clingfilm, and allow to cool back to room temperature.  Chill in the fridge.
4) To make truffles, cover your hands in cocoa powder, take teaspoonfuls of room-temperature ganache, roll into balls and then roll in cocoa, chopped nuts or other flavourings.  Ganache can also be piped as a decoration or filling.

Sunday, 26 August 2012

No-Scales Easy Chocolate And Banana Cake


Leftover bananas.  There are always some, at least one little black bastard sitting there getting smelly and ripening all your other fruit.  What to do with them?  My mother used to make milkshakes with vanilla icecream; the mother-out-law makes smoothies (which I can't stand); I make cake.  I do have a 'banana bread' recipe somewhere, but this stodgy wonder is a good'un for pudding.  It's also mostly banana, which is kind of the point.

I usually despise Americans for measuring things by volume, but in this case it's just too easy.

Easy Banana and Chocolate Cake

You Will Need: Chopping board and knife; dessertspoon; large bowl; wooden spoon; small bowl; fork; 8 inch circular tin
3 bananas
1/2 bar dark chocolate
large handful walnuts
1 egg
4 dessertspoonfuls walnut/groundnut/vegetable oil
3 rounded dessertspoonfuls brown sugar
3 heaped dessertspoonfuls self-raising flour

1) Preheat the oven and grease the tin.  Chop the bananas, chocolate and walnuts into small chunks, and mix in the large bowl.
2) Add the sugar.  Beat the egg and add to the bowl; add the oil.  Mix well until gloopy.
3) Heap out desserspoonfuls of flour one at a time, mixing as you go.  Add a little more if the mix looks too runny; you should be able to pull a clean track through the mix with your spoon and it should look pretty sticky.
4) Pour into the tin and bake for 25-30 minutes until a skewer comes out clean and the top is golden brown.  Look out for skewering choccy chunks as they will give a false negative.  Cool, turn out and cool some more.

5) Om nom nom!


Monday, 13 August 2012

White Chocolate Nectarine Cake

I don't usually make cakes like this.  I usually despair of the faff of multiple-stage, gooey, sugar-heating concoctions with complicated fillings.  They go against all my principles.  They are (I believe) really no tastier than simple ones.  And yet, when a friend approached me with this recipe, and I said 'i'm not making this, see above also I hate mango,' she was able to persuade me to do an Elisabeth-friendly version.  It uses proper British measures by weight (not those blasted 'cups'), nectarines (one of my favourite fruits) and white chocolate.  It went down a storm at the girly baking day yesterday, and I'm already thinking up ways to improve it and riff on it to use as a birthday cake in a few weeks' time. You will notice that much of the equipment for this cake overlaps in the different stages, so don't be afraid to wash up as you go along.

Stupidly Complex Squidgy Ginger, White Chocolate And Nectarine Toffee Cake

Nectarine Curd
You Will Need: sharp knife, chopping board, small saucepan, blender, sieve, cup, two small bowls, wooden spoon
11oz ripe nectarines, stoned (about three; also you will need one or so for decorating later)
2 egg yolks
6 oz sugar
2 oz butter
1) De-stone the nectarines by cutting all the way around them and twisting gently on each half.  Chop them into small pieces.  Put them in the saucepan with a splash of water, and simmer until disintegrating.  Blend the mixture to a smooth puree, and keep aside in a small bowl or the blender compartment.
2) In a clean saucepan, heat a little water and set another small bowl above it.  Melt the butter in the bowl.  Separate each egg with the whites going into a cup and the yolks into the butter.  Add the sugar to the butter and eggs, and mix well over a gentle heat.  Add the puree.
3) Cook for about half an hour or until the mixture coats the back of the spoon.  If too runny, add another egg yolk.  Strain the mixture through the sieve, forcing it through with the spoon, into a bowl.  Discard any fruity bits which can't go through the sieve, and set the curd in the fridge to cool fully.

Cake
You Will Need: Tin 23cm across, baking paper, scissors, scales, large bowl, wooden spoon, small bowl, strong whisk, spatula, skewer, cooling rack, two plates, breadknife
3 eggs
8oz butter (Kerry Gold)
6oz sugar
8oz self raising flour
4tsp ground ginger
1) Preheat the oven to 180degrees C.  Line and grease the tin.
2) In the large bowl, cream the butter and sugar.  Separate the eggs, with the yolks going into the big bowl and the whites a small one.  Mix in the egg yolks; add the flour and ginger a little at a time.
3) Whisk the eggwhites to soft peaks in the small bowl, and carefully fold them into the cake mix until it is runny enough to use the whisk.  Whisk the mixture together, and pour into the tin.  Smooth down the surface of the mixture, leaving a dent in the middle to encourage a flat cake.
4) Bake approximately 45 minutes, or to clean-skewer.  Remove when done to a cooling rack, and turn out.
5) Leave to cool for a good while.  Turn right-side up and trim off the domed top of the cake.  Eat this later.  Put the remaining cake on a plate; carefully saw through it to make two layers with the  breadknife and shuffle the top half onto the second plate.  Leave to cool completely (I had to set a 15-minute timer and use peer pressure to stop me fiddling with it.)

Candied nectarines
You Will Need: sharp knife, chopping board, small pan, tray, greaseproof paper, small plate, wooden skewers, wooden spoon, kettle
1 1/2 nectarines
4 tablespoons caster sugar
2 tablespoons chunky brown sugar
1) Slice the nectarines.  Line the tray with greaseproof paper.
2) Heat the caster sugar in a clean, dry, small saucepan until melted and golden-brown.  Meanwhile put the chunky-grained brown sugar on the small plate.
3) Coat each slice in toffee, then turn it out first into the chunky sugar, and then onto the tray.  Leave to cool.
4) Boil the kettle and pour into the toffee pan to get the crusted sugar off easily.  Then wash up as normal.

Ganache
You Will Need: chopping board; sharp knife; bowl; small pan; measuring jug, spoon
400g white chocolate
200ml cream
1) Measure out 200ml of cream, and heat it very gently in the pan without boiling it.
2) Chop the white chocolate into very small pieces, and put in a bowl.  Pour the hot cream over the chocolate and stir gently until the ganache is smooth.  If the cream cools too quickly to get rid of all the lumps, heat the ganache over a pan of hot water on the hob, stirring all the time until smooth.


Assembly
You Will Need: Small plastic sandwich bag, scissors, spoon, knife, cake components
1) Gather everything you need.  Spread the sandwich bag securely open, and spoon some of the white chocolate ganache into it.  Squeeze all of the mixture into one corner of the bag, and cut a little corner off with the scissors.  Pipe a wide spiral of ganache all around the lower half of the cake.


2) Fill the gaps around the spiral with the nectarine curd.  Any left over will keep in a jar in the fridge for 3 weeks.
3) Lift the top cake onto the bottom cake.  Spread the remaining ganache over the cake, letting it drip down the sides.  Decorate with the candy slices.  (n.b. version pictured used half as much ganache, but I doubled it in the blog recipe so that your crusts would be covered.)

4) Eat, eat, enjoy!