Pages

Tuesday, 4 December 2012

Needle Felted Bunnies (Twee and Rock)


Since I discovered needle felting, the most Simple and adorably fluffy craft ever, I've been compulsively making stuff until I ran out of wool.  This included a pair of bunnies, one of whom has a little guinea-pig friend, as presents for the adorable twee- and rock- bunny-loving people in my life this festive season.  Follow the pics for a simple-as step-by step!


Thursday, 29 November 2012

Needle felting Christmas decorations

My fluffy little creations!  Including Gay Pride Santa, who is fabulous.
Hooray! It is the first Christmas post of this year, and I have discovered a new craft!  And it's the Simplest yet!

NEEDLE FELTING.
Beginning the pomander, on sponge, with official needle

All you need is some sponge, one or four of the official felting needles, and the right fluffy wool (available relatively expensively, compared to knitting wool) on the internet in various places and many many colours.  (P.S.  you can even use cat hair.  Seriously, google it.)

THEN YOU STAB IT UNTIL IT LOOKS AWESOME.

Behold!

Adding more layers of colour is easy
GAY PRIDE SANTA!  PENGUIN!  BIRDIE!  MARY MOTHER OF JESUS!  A STAR! A POMANDER!

All of these lovely things are so easy to make it's not true - just wrap the wool into shape and stab it until it sticks.  The more you stab, the denser the material becomes and the less pliable.  You would not believe how small a tuft you need for making eyes or dots with - just a few hairs, seriously.

Base for Mary - body cylinder, white head and cloak
I am going to put threads on these beauties and give them to people as Christmas decorations, but you could make toys, a Nativity scene, beads, decorations for clothes and accessories, anything you want.  I love this craft.  It is the best thing.

Finished Mary, with arms, white 'hands' and yellow halo

I'm off to do some more...

Thursday, 22 November 2012

Aran Cardigan Progress


I've been raring through this pattern, after a few rookie errors with the left front the right front was easy.

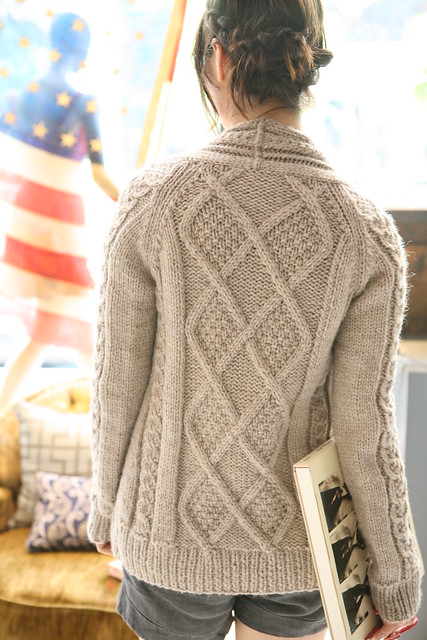
Someone (who shall remain anonymous) slurred this blog recently by claiming that it is no longer quite devoted to 'simple' things.  I think they think that cable jumpers are complicated.  Allow me to disagree.  When I have finished this, I will show you these stitches, and you will see how amazingly simple knitting a jumper like this is compared to how it looks.  Admittedly, it does look pretty complicated and awesome.


Sunday, 11 November 2012

Aran Style Cardigan Pattern

Ravelry is a lovely thing - a knitting and crochet online community, where you can find thousands of free patterns.  I managed to find this one after I went looking for an aran jumper.  My favourite pair of cable jumpers which my mother made me are both fraying at the cuffs and being mothed at the seams.  I needed a replacement, and fast - faster than Mum could make me one and post it from 6000 miles away.


To (hopefully) avoid moth damage, this jumper is made using acrylic super-bulky wool, purchased as usual at Kemps Wool Shop (link in the sidebar).

As long as you have the dexterity to stop yourself dropping the stitches, cable knitting is an insanely easy way of making your knitting projects look super-professional and difficult looking, and creating chunky, funky patterns.  I'm very happy with the way the back of this turned out, and have started on the left front now.

I learned a number of new stitches from this pattern, and from the comments on it from the lady who designed it.  When I've finished the jumper I'll swatch up again and show you my favourites in detail.  For now - onward!


Sunday, 28 October 2012

League Of Legends Nexus Cake


'What flavour of birthday cake do you want, darling?' I ask The Man.
'Big.'
'Big what?'
'Muh, dunno.  Chocolate.'

'Chocolate' wasn't good enough for me, so I made a 28cm-diameter chocolate-and cherry cake,


and a 28cm white chocolate-and-ginger cake, cut them into regular hexagons,


iced them with ginger syrup buttercream and chocolate ganache,


and covered them in ready-roll fondant,


and scored the fondant into 'stone walls,' and added more vanilla cake covered in more chocolate and fondant,


hexagons of blue fondant, and made marzipan 'statues' of wizards with blue birthday candles for staffs and cocktail sticks holding their heads on, with fondant cloaks, and six piped triangles and one piped hexagon of macaroon/meringue


assembled into a regular 6-sided pyramid filled with small round macaroon and whipped cream, covered in more blue fondant. 

And added green coconut buttercream 'moss' and candided angelica 'weeds'.

Until it looked something like this:


This was not a Simple Thing to do.  Do not try this at home, kids.

Or do, but be aware that the Faff Index occasionally goes up to 11.

The final thing needed a total of 16 eggs, a kilogram of butter and half a kilo of chocolate.  I think that counts as 'Big.'

Tuesday, 23 October 2012

Cross-stitch update


As you can see, with little else to do I have been getting on with my cross-stitch.  The brown border does look a little overpowering, but hopefully I can fill out the tree itself a few more bits and pieces and make the main pattern more eye-catching later.


The little animals in the branches have been coming off well; I am particularly pleased with the squirrel.

I also wanted to share with the Internet the following amusing photo of some fried eggs, which I thought rather resembled Edvard Munch's The Scream.

 That's all; it has been quiet on the crafty front the last month while I've been filling in forms and so on in my spare time, but I'm looking forward to the Man's birthday cake this week which should be gracing these pages soon.  Not to mention I have just ordered some more wool from Kemps with which to make my first proper jumper - an aran cardigan to replace the well-worn and over-mothed ones which my mother made me years ago, whose sleeves are suffering.


Friday, 5 October 2012

Fig Upside-Down Cake

I made this cake on the fly as a thank-you present for lots of people.  It needed to be rich and square so that everyone could take a small piece which would satisfy them and not spoil the shape of the cake.  I think it would make a lovely low-key Christmas cake for those who are not big on the traditional version.

Fig Upside-Down Cake
You Will Need: 20cm square cake tin, scissors and greaseproof paper, scales, large bowl, small bowl, teaspoon, kettle, chopping board and knife, sieve, wooden spoon, dinner knife, lemon zester or grater, rolling pin, cooling rack, serving dish.

4 ripe figs
40g hazelnuts
8oz soft butter
6 1/2 oz caster sugar
3tsp honey
12 fresh dates
2 large handfuls of sultanas
2 Lady Grey teabags
4 eggs
zest one orange
8oz self-raising flour
100g golden marzipan

1) Preheat the oven to 180 degrees C.  Grease the bottom of your tin. Cut two long slices of greaseproof paper, and cross them in the bottom of the tin.
2) Cut the stalks off your figs.  Slice them into 3mm slices.  Use to line the bottom of your tin in a symmetrical pattern.  Scatter hazelnuts into the gaps between the fig slices.
3) Chop the dates, removing the stones.  Put them in a bowl with the sultanas and teabags; add just enough boiling water to cover them.  Allow to steep.
4) Cream the butter, honey and sugar in the large bowl.  Add one egg at a time, beating in well, followed by some of the flour, then the next egg.  Beat to a smooth mixture.  Zest the orange and stir in the zest.
5) Drain the fruits in the sieve and add the dry fruits to the mixture.  Mix gently.  Spoon half of this mixture into the tin, being careful not to spoil the fig pattern.
6) Roll out the block of marzipan into a square, about 2mm thick and smaller than your tin.  Place on top of the mix in the tin, then pour the rest of the mix on top.  Level the mixture.
7) Bake for about 40+ minutes, if necessary with a tinfoil hat on to prevent browning.
8) Cool for a long time in the tin before turning out, first to the cooling rack and then sliding onto the final plate.

Monday, 17 September 2012

Decadent Pear and Chocolate Birthday Cake


A little while ago I mentioned this cake, and this one which I made in response.  My good friend made a beautiful-looking pear and dark chocolate version, although much like me she struggled with unripe fruit and getting the curd to set.  I was sorry I didn't get to taste it, as it has really inspired my second try.
I really wanted to get this right.  It is high time I had a proper show-stopping torte on my resumé which I can whip out for other people's birthdays as well as my own.  This time I made sure to buy my pears a week in advance, so that they would be juicy and flavoursome by the time it came to making the cake.  Thankfully, it is by far the best cake I have ever made!

This is an expensive confection as it involves buying hazelnuts (peeled nuts are a luxury in this country for shame) and a bottle of decent sweet wine.  Thankfully fruit and chocolate are both cheap!  It is also a multi-stage bastard.  As I have said, usually I avoid multi-stage anything like the plague, being of the 'screw it we'll have stew' school of culinary excellence, but for one's birthday as a known baker one has to go the extra mile.

One benefit of these sorts of cakes is that almost any of the stages stands alone.  The praline is a great peanut brittle substitute, the cake is obviously pleasant, the poached pears are a great pudding in and of themselves and the ganache could be used to make truffles.  If you've been paying attention, you'll realise that I made all of these things one at a time over the past few days, to avoid a nine-hour baking binge on the night of the party.

For shopping lists: Total chocolate used overall 500g, total cream used overall 300ml, total hazelnuts 400g

Spiced Pear and Chocolate Cake with Indulgent Pears and Hazelnut Praline

You Will Need:
Hazelnut Praline, one batch - three decorative pieces, the rest powdered
Chocolate Ganache, one batch
Pears Poached in Sweet Wine, - 4 pears' worth including three pear fans to decorate
100g hazelnuts, to decorate

Spiced Pear And Chocolate Cakes
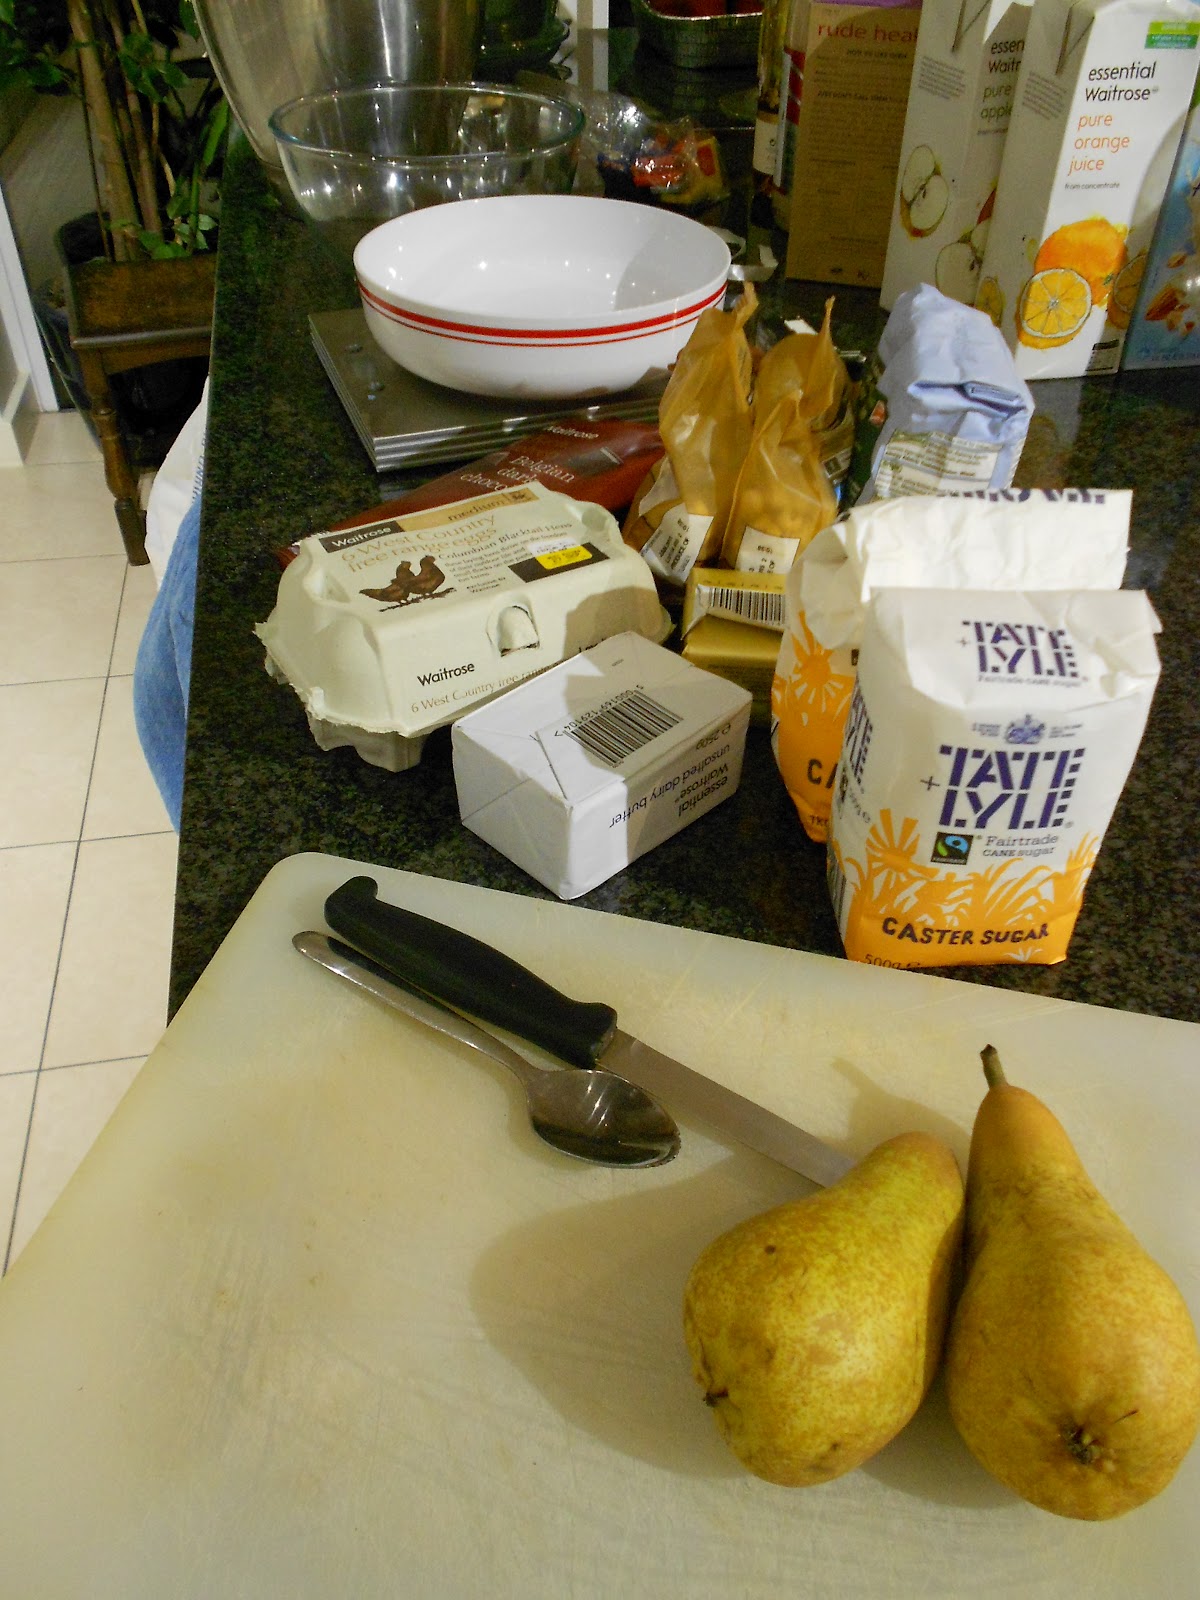
You Will Need: scales, 2 tins, greaseproof paper, wooden spoon, large bowl, chopping board and knife, (small grater),potato peeler, teaspoon, whisk, 2 medium bowls, cup, small saucepan, cooling rack

100g chocolate
200g butter
200g sugar
5 eggs
2 small pears
1/2tsp nutmeg, or 1/2 a nutmeg grated
1/2tsp cinnamon
100g hazelnuts
200g self-raising flour

1) Preheat the oven to 180degC.  Line and grease your tins.
2) Peel, core and chop the pears into small pieces.
3) Separate your eggs, with the whites going into one medium bowl and the yolks a cup.  Cut the butter into small pieces, and break up the chocolate.  Set the second medium bowl over a pan of boiling water, and melt the chocolate, sugar and butter together.  When the mixture is all mixed with no lumps, transfer to the large bowl and whisk in the egg yolks gradually.
4) Grind the hazelnuts, and mix with the flour and spices on the scales.  Wash the whisk; whisk the egg whites to soft-peak stage; fold spoonfuls into the mixture alternately with flour, whisking the whites back up to peaks again between spoonfuls.
5) Pour equally into the tins and bake 30-35 minutes, until risen and clean-skewer.
6) Allow the cakes to cool in the tins for 10 minutes.  Remove from the tins and allow to cool on a rack.

Assembly
You Will Need: Serving dish, breadboard, breadknife, spoon, medium bowl, small bowl, small saucepan, teaspoons, dinner knife

200ml thick cream
200g dark chocolate

1) Allow your ganache to come back to room temperature so that you can work with it.
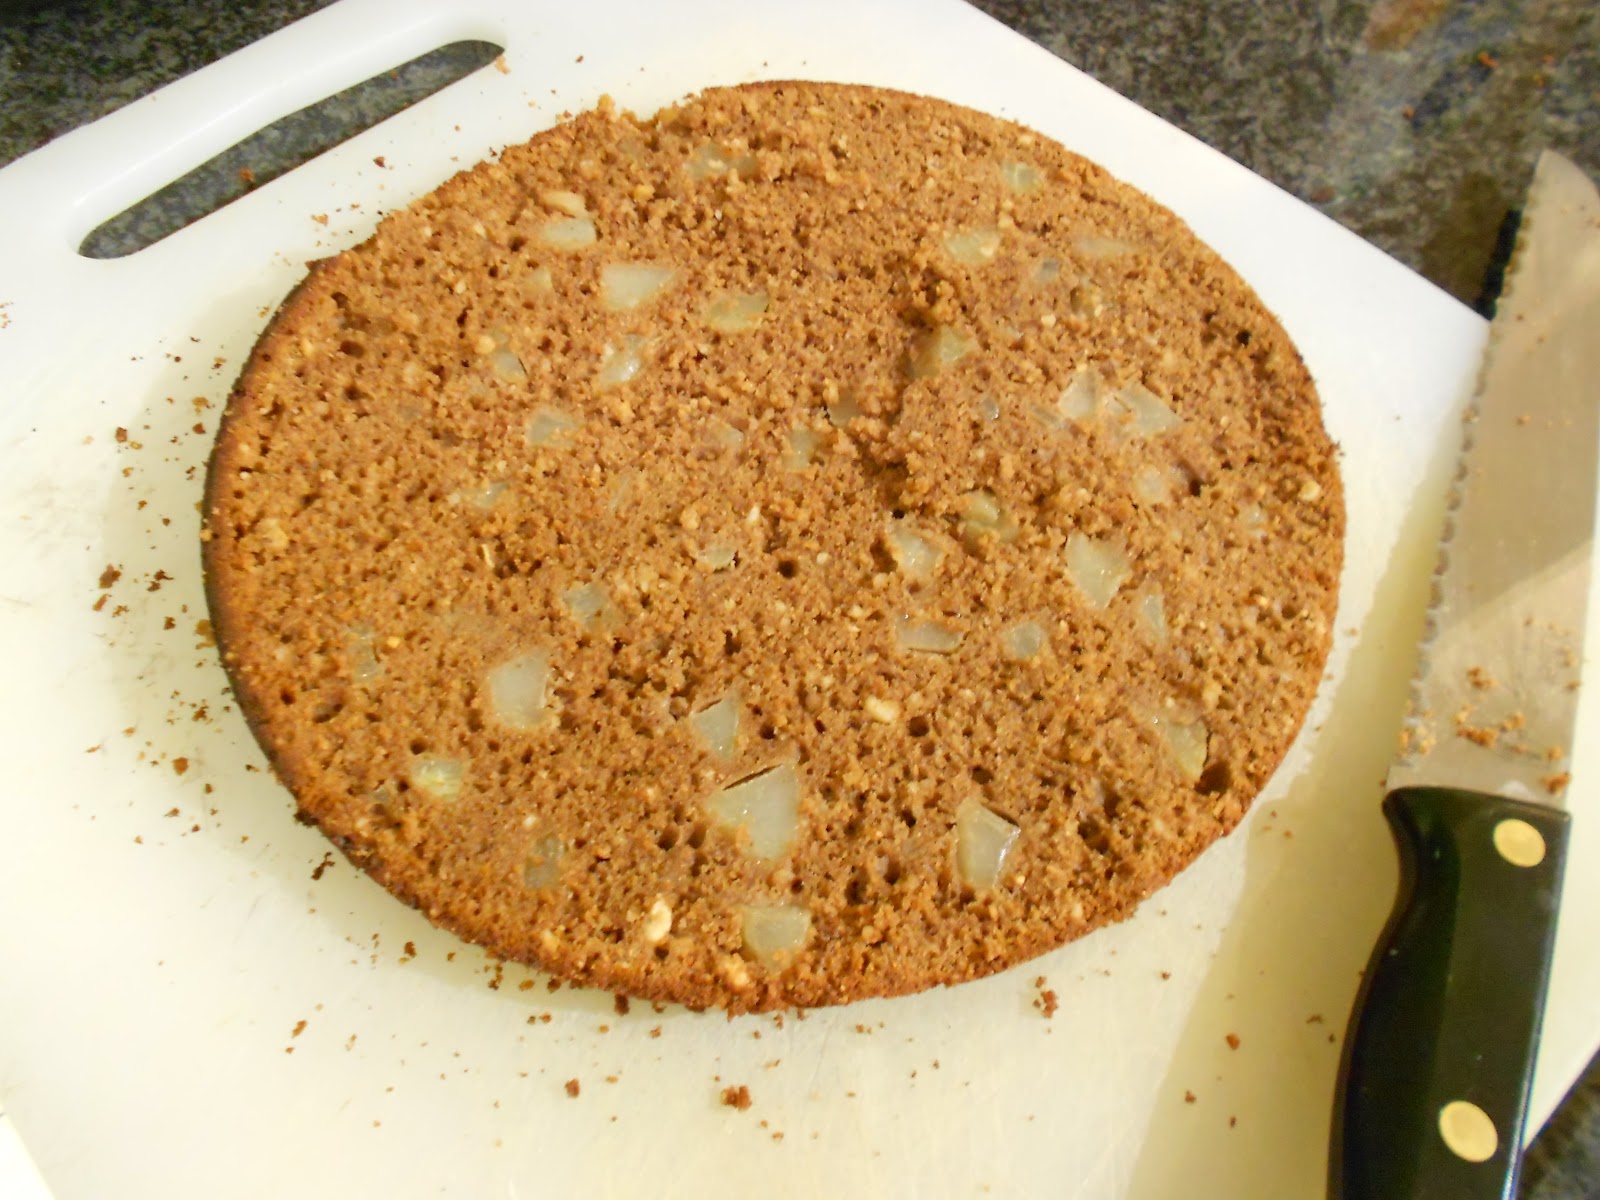
2) Cut your cakes.  Very gently turn out the first cake onto the serving dish.  Now cut it in two carefully, and shuffle the top half onto the breadboard. 
3) Spread a thick ring of ganache all the way around the edge of the cake on the serving dish, using your teaspoons and dinnerknife to manipulate it.
4) Mix the hazelnut praline powder powder gently with the thick cream only until mixed.  Spoon a round of this mixture inside the ganache ring.  Top with the next round of cake.
5) Turn out the second cake onto the breadboard and cut it in two.
5) For the central filling layer, arrange the poached pear slices in an overlapping layer.  Top with a third round of cake.
6) Use the remaining ganache and hazelnut cream to fill the third round, as before.  Top with the final cake.
7) Melt the last chocolate in the small bowl over the small pan.  Pour this melted chocolate all over the cake, first spreading a layer to catch all the crumbs, then allowing it to dribble over the sides organically.  Allow to cool slightly.  Fan out the poached pear halves in a trio; wedge the chunks of praline in between the pears.  Place hazelnuts evenly around the edge to mark portion sizes.

Fin! Serve to no fewer than a dozen people at once!


Pears Poached In Sweet Wine


This pudding is one of my father's favourites, from the worst-laid-out cookbook either of us has ever seen, authored by Nigel Slater, one of my favourite food people.  This isn't Nigel's recipe, because it uses sweet wine instead of red, but red is traditional.
It is a law of cooking that if (as generally recommended) you save the sh*te wine for cooking, your cooking will taste of sh*te wine.  Splash out on the £6.99 stuff on offer from £10 - you can always drink the rest of the bottle.

Pears Poached In Sweet Wine
You Will Need: Medium saucepan, measuring jug, wooden spoon, teaspoon, chopping board and knife, potato peeler, plate

4 small pears
350ml good sweet wine such as Muscat
30g sugar
100ml water
1/2 tsp cinnamon
1 vanilla pod, split and scraped
6 cloves

1) Peel and cut the pears into halves lengthways, scooping out the cores with the end of the teaspoon.
1a) If making my pear and chocolate birthday cake, make sure that you keep three half-pears with stalks on to make into decorative fans for the top.  Peel and core these too.
2) Melt the sugar in the water in the saucepan.  Split the vanilla pod. Scrape the vanilla seeds with the end of your knife into the pan; add the other spices including the pod, and swirl until golden and fragrant.  Add the wine carefully. (Method from Jamie Oliver).  Bring the mixture to a simmer, and add the pears.  Cook for approximately half an hour, until tender.
3) Retrieve the pears with the spoon.
3a) If you are making the pear and chocolate birthday cake, cut all but three half-pears into long slices for a filling layer.  Carefully cut the stalked three into fans, and keep these aside.


Protip: Save the cooking liquid as a hot toddy - it tastes AWESOME.  Cook's perks!  Or reduce slightly and serve as a sauce for the pears, if doing as a pudding.

Chocolate Ganache


Chocolate Ganache
You Will Need: Small saucepan, wooden spoon, medium bowl, scales, measuing jug, chopping board and sharp knife, clingfilm

100ml extra thick cream
200g dark chocolate

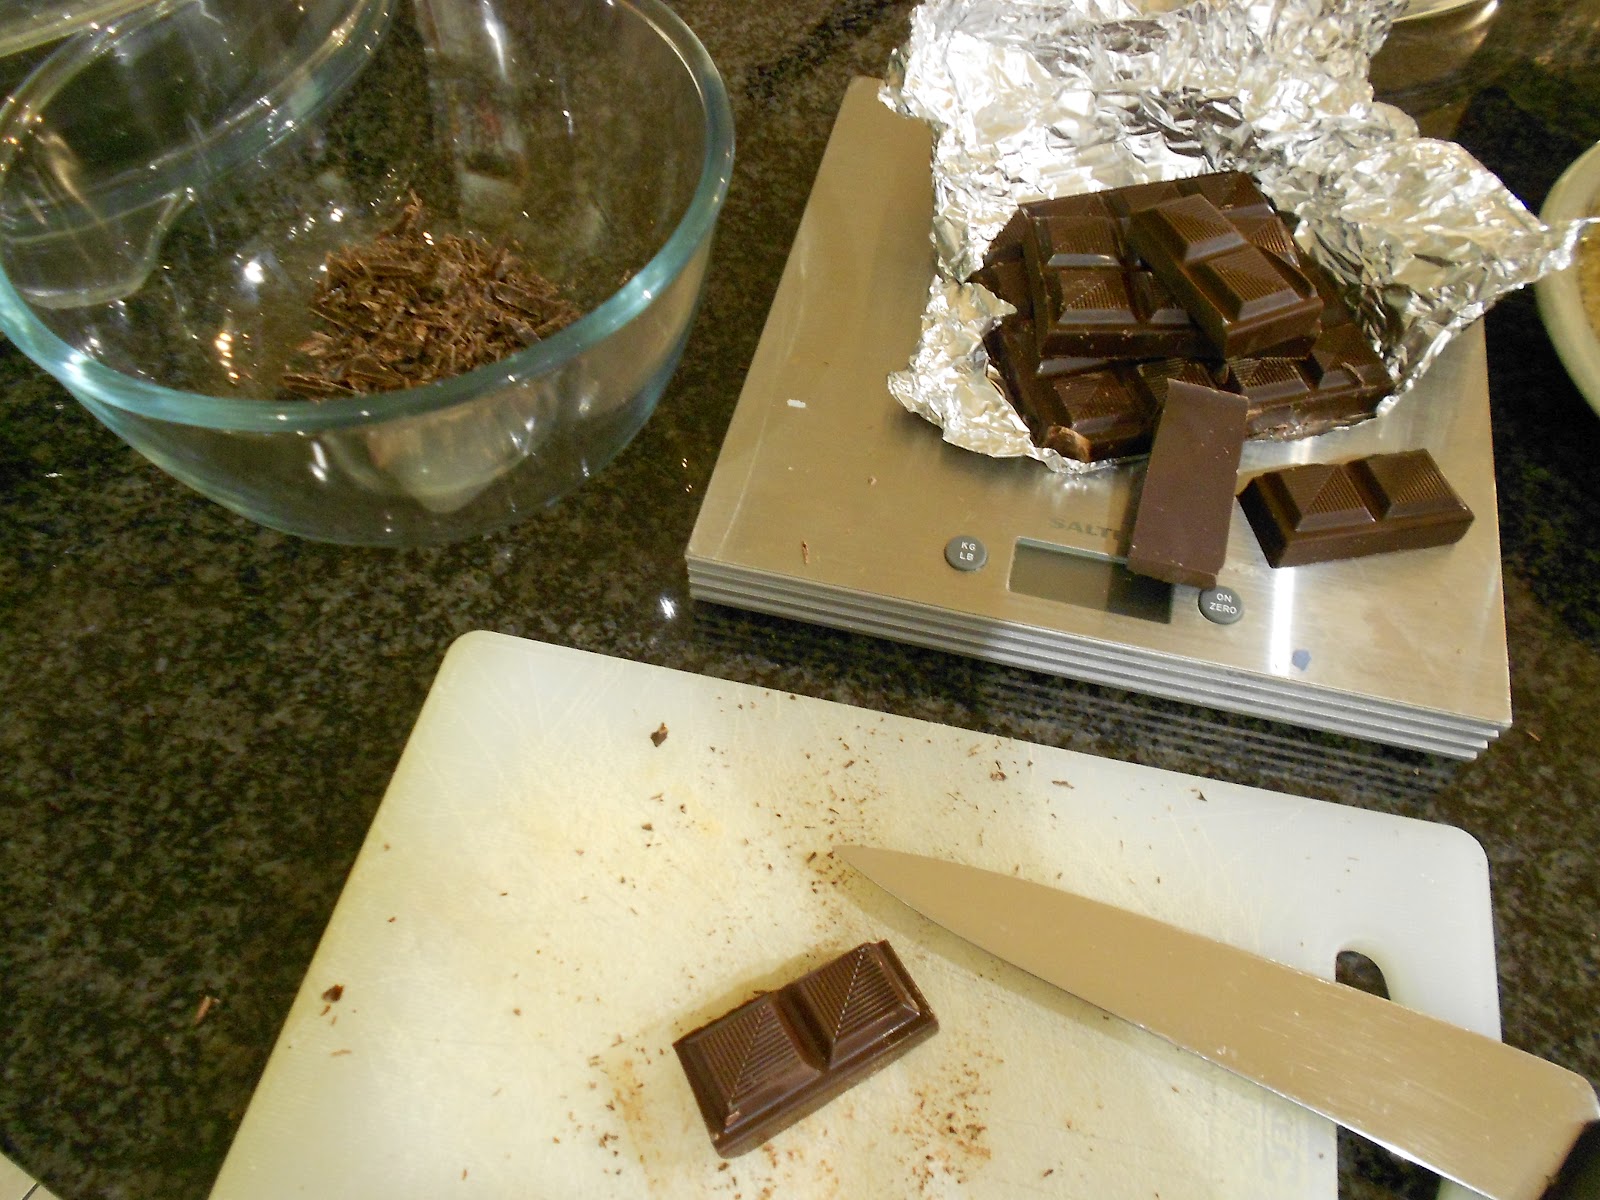
1) Break the chocolate into small pieces and chop as small as you can.  Pour these chips into the bowl.
2) Heat the cream until hot but not boiling.  Pour swiftly over the chocolate, and stir rapidly until all of the chocolate is melted.  If the cream becomes too cool, heat the ganache very gently again over a pan of hot water.
3) When mixed, cover the ganache with clingfilm, and allow to cool back to room temperature.  Chill in the fridge.
4) To make truffles, cover your hands in cocoa powder, take teaspoonfuls of room-temperature ganache, roll into balls and then roll in cocoa, chopped nuts or other flavourings.  Ganache can also be piped as a decoration or filling.